Taber Abrasion Test

Taber Abrasion Test Main Image
Example rotary abraser test producing a wear pattern on a rounded sample of plastic.

Taber abrasion testing, alternatively called “macroscopic wear testing,” provides an analysis of the strength of solid materials.

Strengths

  • Quick, straightforward measurement of mechanical strength and related properties
  • Minimal sample preparation required
  • Outstanding availability of reference measurements and methodologies

Limitations

  • Destructive technique
  • Cannot simulate all environmental / ambient wear conditions
  • Requires moderate to large area of flat surface on solid sample

Learn More

Taber Abrasion Test Services

Taber Abrasion Test

Taber abrasion testing, alternatively called “macroscopic wear testing,” provides an analysis of the strength of solid materials.

Sample Requirements

Example Outputs

Example rotary abraser test producing a wear pattern on a rounded sample of plastic.

Instruments Used

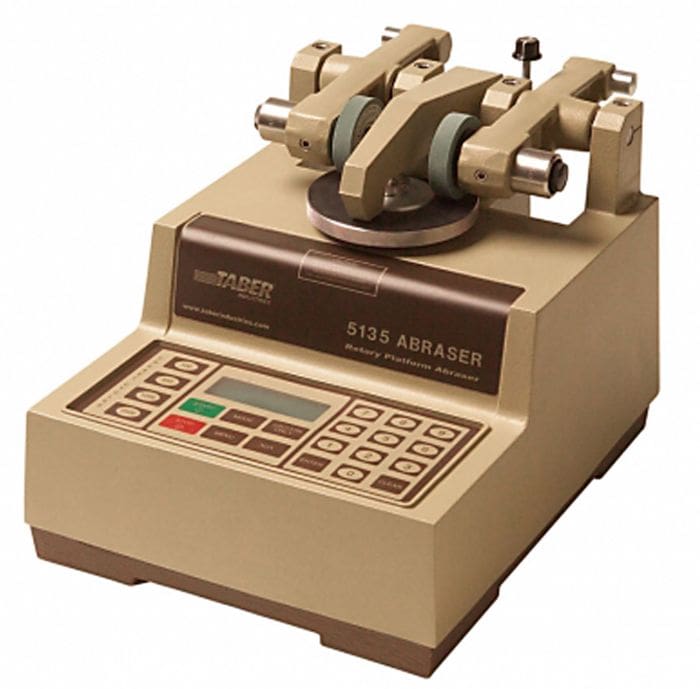
Taber Industries  5135 Rotary Abraser

Taber Industries 5135 Rotary Abraser

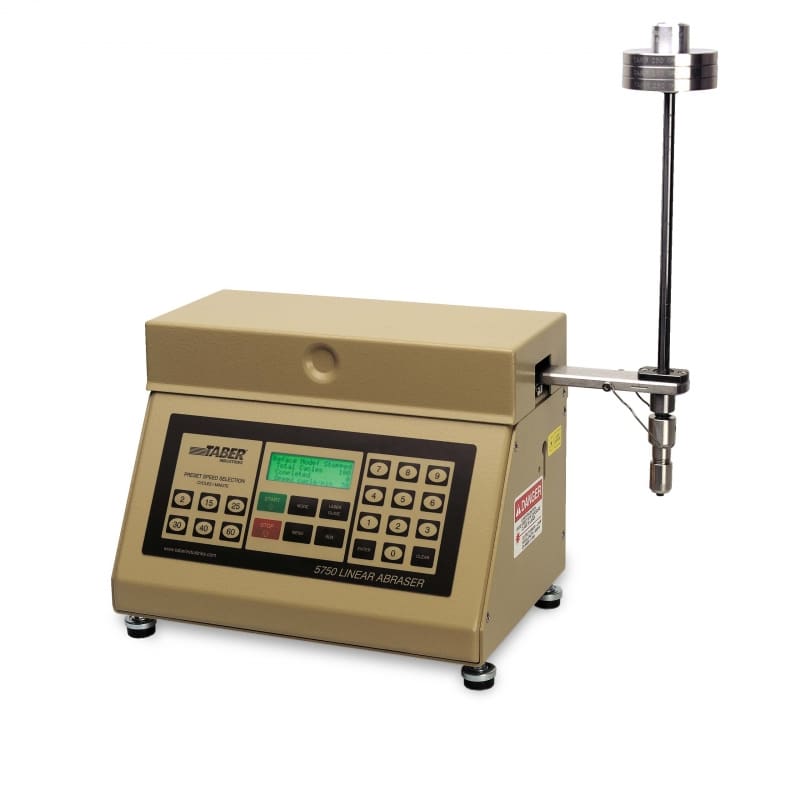
Taber Industries  5750 Linear Abraser

Taber Industries 5750 Linear Abraser

How Works

Taber testing applies linear or rotary forces to the surface of a sample, with variable pressure / rotation speeds, respectively. Abrasion damage on the sample is analyzed to determine the specimen’s wear resistance.

In a standard “taber test” of wear behavior, the material of interest is mounted on a turntable platform.

For circular taber abrasion, two abrading wheels are placed in contact with the surface, with a set applied pressure and rotary speed. These wheels induce friction / shear damage in the sample due to its sliding contact with the abrading wheels as they spin and the turntable mount is rotated.

For linear taber abrasion, a counterbalanced arm with precise applied pressure is dragged across the sample surface as the specimen platform is laterally moved under it. As in the rotary case, the scraping and sliding of the sample in contact with the arm produces damage marks.

At the conclusion of either abrading process, the sample is subsequently profiled using optical or scanning-probe imaging techniques to evaluate the extent of wear.